
We finally made more progress inside the girls’ playhouse with this DIY built-in storage bench! It’s functional and also has the clean, modern look we love! We’re sharing our approach to building this storage bench and why it’s the happy addition this space needed. You’ll want to look out for part 2 of this project where we paint the bench!

This post contains affiliate links and we will earn a small commission, at no extra charge to you, if you make a purchase using any of our links. We appreciate your continued support!
Materials
How We Built and Installed the Bench Side Trims
We approached our DIY storage bench build by working on the side trims first. We constructed each trim using 4 pieces of 2×4 lumber. To assemble each side trim, we made 4 pocket holes (2 on each end) in the 2 horizontal trim pieces.


Since we wanted the side trims to fit flush against our playhouse walls, we used a jigsaw to cut and remove a section in the 2 vertical side trim pieces. Our baseboard height and thickness determined how much wood we needed to cut out for a flush fit.
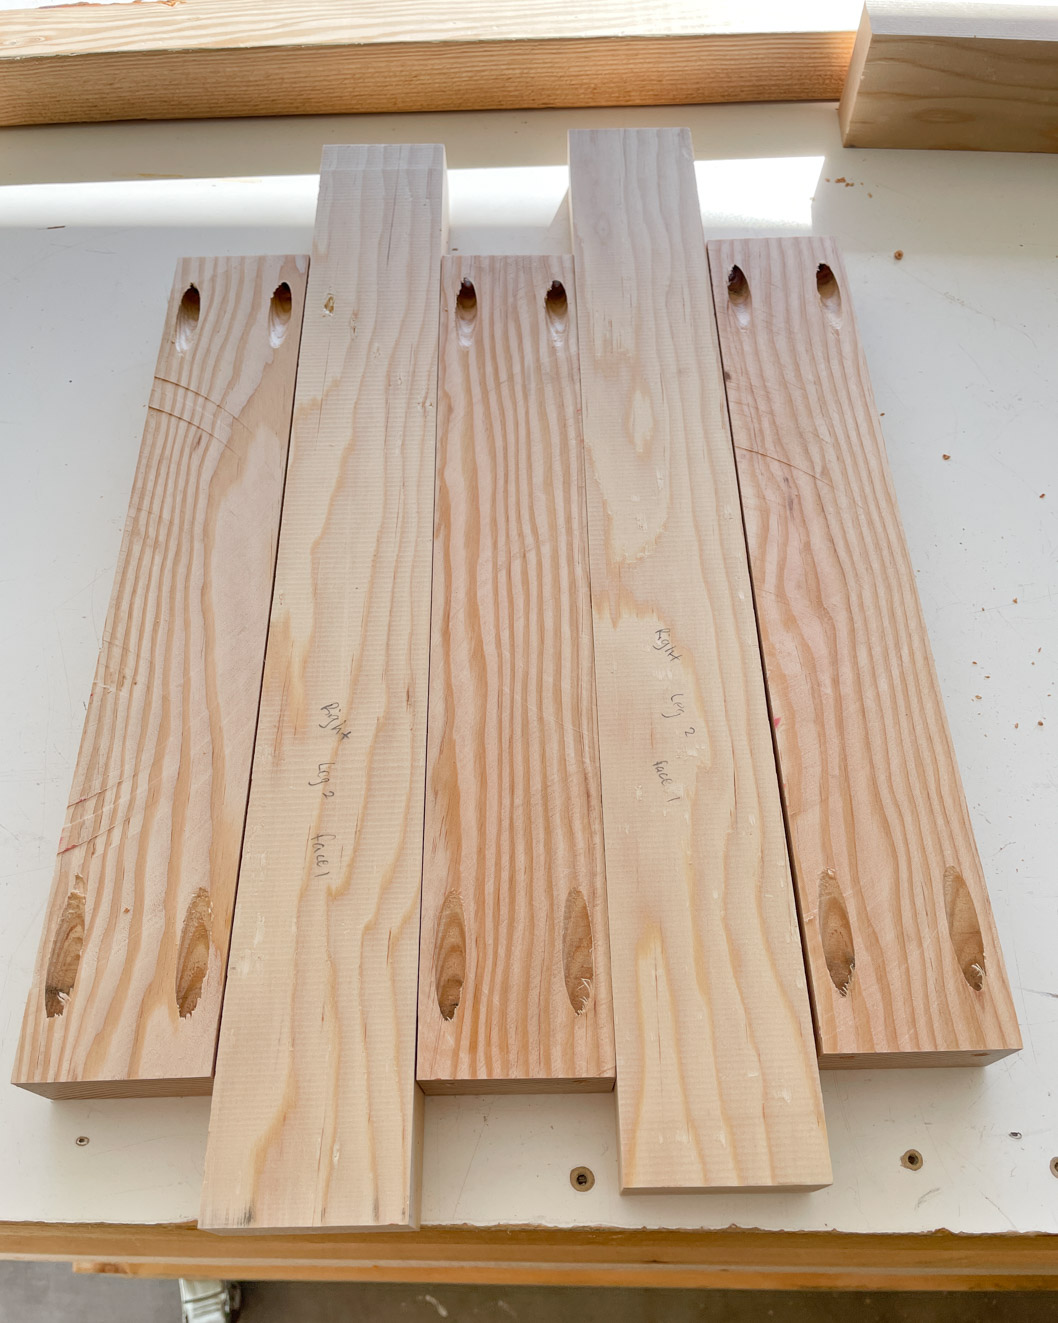

DIY Tip – Dry fitting is your best friend! It gave us the opportunity to verify our measurements and cuts and then make any adjustments, which saves time in the long run!
Only after dry fitting did we secure the 4 pieces of 2×4 lumber using 2″ pocket screws.


We sanded the side trims prior to installation because it was easier and would also protect our already installed wallpaper. We then secured each side trim into the playhouse wall using 3″ screws and made sure to hit wall studs, for added structural stability.


Bench Back Installation
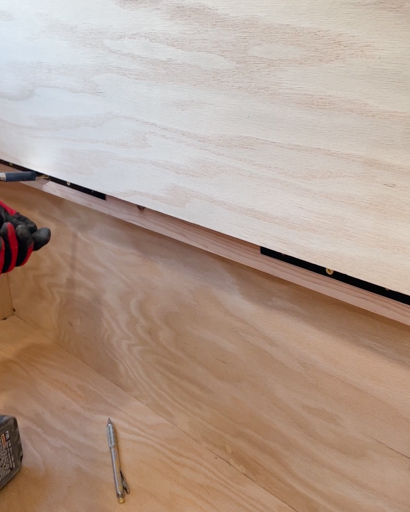
The body of our DIY built-in storage bench was constructed from red oak plywood. We purchased them in large sheets and then ripped them down, using our table saw, to our specific dimensions. Once we located the wall studs, we used 2″ screws to secure the bench back into the wall and through the studs.
DIY Tip – Invest in a good stud finder! There are many options available with different methodologies. We’re big fans of the magnetic options!

Installing the Rest of the Trim Work
We installed the front trim by securing it to the side trims, using pocket holes and screws. The same pocket hole system was also used in securing the back portion of the benchtop.
DIY Tip – Pocket holes are a great way to create a clean exterior look on a project.


Building Additional Bench Support
We wanted the storage bench to be structurally sound and support the girls’ toys and anyone who may sit on it. So we added a base support structure, that extended the length of the built-in storage bench.


The pieces of 2×4 lumber that we used to build the base support structure were secured together using more pocket holes and screws. That structure was then secured to the baseboards on all 3 sides of the space.


Building the Body of the Storage Bench
With the base support built and installed, we were then able to focus on the body of the storage bench. We first secured the bench bottom to the base support using 2″ screws.
DIY Tip – The length of the screw you use is determined by the thickness of both wood pieces you’re securing together. The screw should enter at least half the thickness of the bottom wood.

Installing the Bench Sides
Remember those side trims we built and installed at the beginning of this project? We secured the bench sides to the side trims using 2″ screws.


The bench front/face was then secured to the rest of the bench using, you guessed it, more pocket holes and screws!


Installing Interior Benchtop Support
Since we wanted the benchtop to unobstructedly span the full length of the bench, we needed some interior support.

Using 2×4 lumber, we built and secured an interior bench divider. Now when we close the benchtop, its weight and gravity will not cause it to dip in the center.


Benchtop Installation and Hinge Selection
We installed the benchtop by first securing the hinges to the benchtop and then securing the benchtop to the bench.

Completed DIY Built-In Storage Bench
I’m so in love with this built-in bench design! It’s pretty and very practical for the girls’ playhouse. In this blog post, we focused on the logistics of the bench build and didn’t provide our measurements. This is very much a custom build because the bench is in a playhouse. You wouldn’t necessarily want such a low bench in your actual home. The key to this build is understanding how and where to secure the wood pieces to recreate this finished look!
Get caught up on our playhouse projects by checking out the following blog posts:
Building a Deck || DIY Paneled Door || DIY Playhouse Build || Wallpaper Installation
If you follow us on Instagram, then you may have seen the poll I shared in stories asking whether to stain or paint this bench. While the majority voted to stain, I decided to paint because I really wanted more contrast between the flooring and the bench! New paint color loading …
Until next time friends!
Aminah Chung
Your work is so amazing!! I hope someday I have the space in my house to work like you do! I love it! Congratulations
Thank you and I hope you will, one day too!
Wow!!!! This is incredible. Love the design and all that storage.
Thank you so much Elizabeth!