
You can build this large indoor planter right now because we’re sharing how we did it and have also included materials, tools, and tips to help you along the way!


Disclaimer: This is a DIY decorative indoor planter! If you’re planning to build this planter for real plants or for exterior use, then please remember to use treated lumber or seal your wood really well. Also, include a waterproof liner and use exterior stains and/or paints where necessary!
This post contains affiliate links and we will earn a small commission, at no extra charge to you, if you make a purchase using any of our links.
Starting Your Large Indoor Planter Build
Bernard first used a plunge circular saw and tract to cut down the large plywood sheet and then used his table saw to further cut the wood pieces down to the exact measurements needed.
Below, you’ll find all the materials and tools used to complete this large indoor planter build, as well as a suggested cut list for the exact size of the one we built. We do recommend cutting your wood pieces as you go along in the project for better accuracy.


Materials + Tools
- 3/4 in. plywood
- 4 in. pine boards (actual = 3.5 in.)
- Wood glue
- Impact driver and 1-1/4in screws
- Saw (we used a table saw + plunge circular saw + miter saw)
- Spackling paste and putty knife
- Sander and 220-grit sandpaper
- Paint supplies
- Paint – SW Iron Ore
- Pre-Stain Wood Conditioner
- Stain – Varathane Early American
Suggested Cut List
- 2 – 19.5 in. x 32 in. plywood pieces
- 2 – 18 in. x 32 in. plywood pieces
- 1 – 18 in. x 18 in. plywood piece
- 32 – 3.5 in. x 18 in. pine boards
DIY Tip #1 – Always Buy Full Plywood Sheets
Whenever we have a DIY project requiring plywood, we always opt to buy the entire 4 ft. x 8 ft. sheet because it’s much more cost-effective and we typically use the leftovers in future projects.

Assembling Your Large Indoor Planter
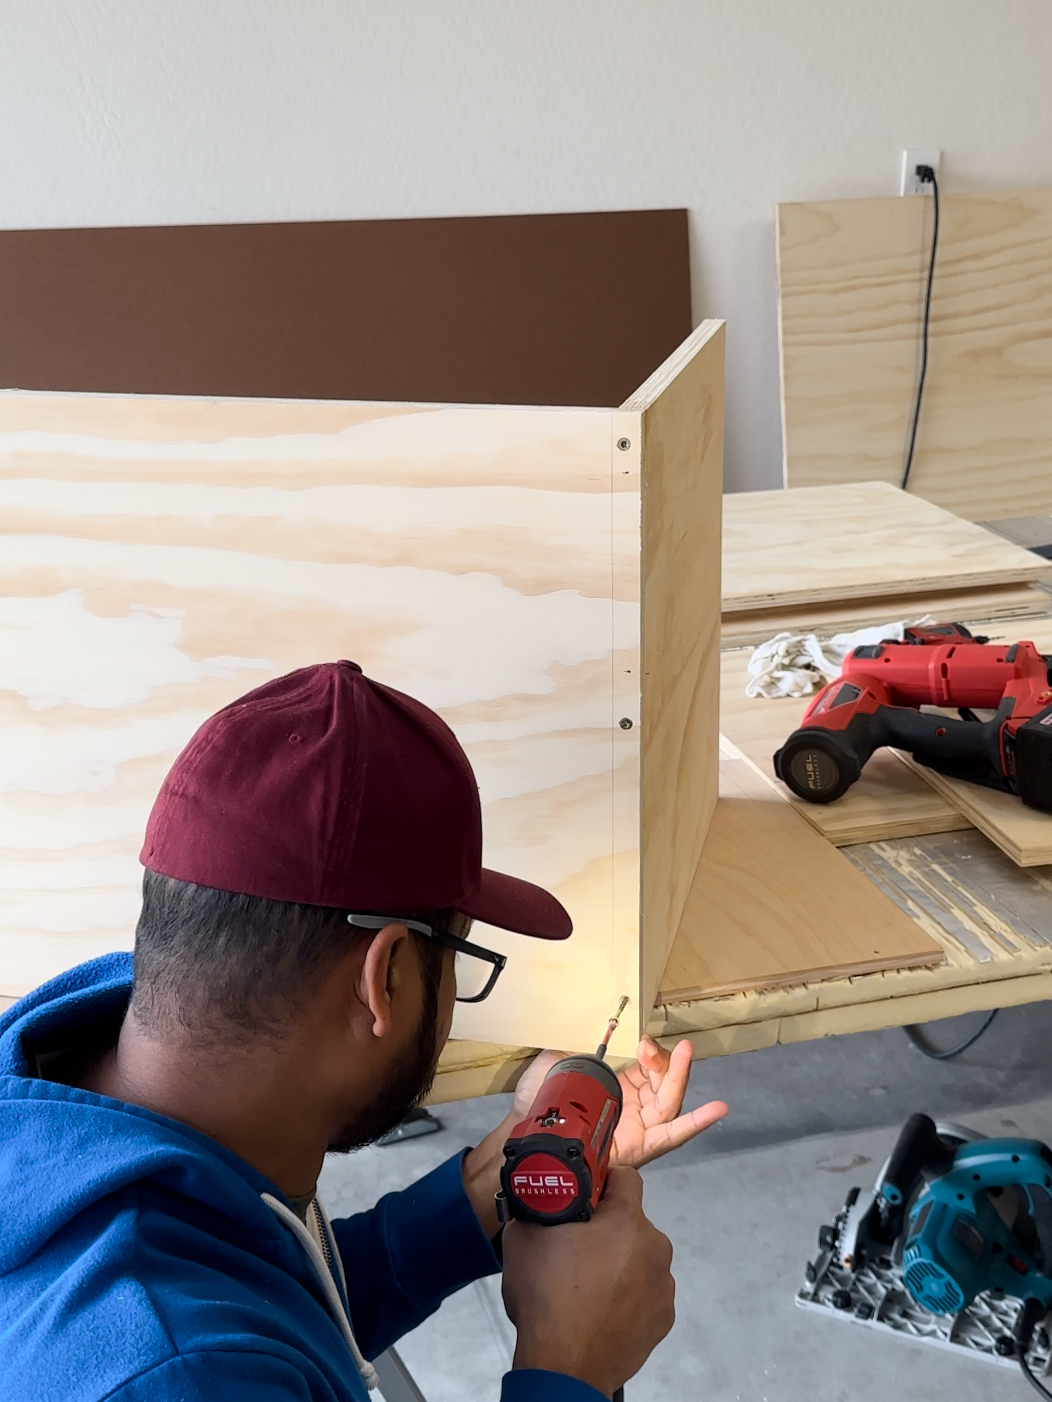
Bernard chose to assemble this large indoor planter by creating butt joints and using wood glue and 1-1/4 in. screws. The wood glue is what’s really holding this build together but since this is a heavy planter, we felt more comfortable adding the screws as well. This simple and very easy approach is a good reason to try this large planter build yourself!

Creating an Elevated Planter Base
We built this larger planter for a 6 ft. faux ficus plant, however, I really wanted an overall height of about 9ft. To achieve this look, Bernard actually installed the planter base about 19 in. off the ground. This created the illusion that the faux plant was significantly taller than it really was.


What Your Large Planter Box Should Look Like
When working with plywood, you always have the option to use edge banding for a cleaner finish. Since we were painting this planter and including pine slats, we chose not to edge band because the plywood edges won’t be very noticeable. Bernard used spackling paste to fill the screw holes and then sanded the entire planter with 220-grit sandpaper.


Cutting Slats for This Large Indoor Planter
The pine slats were a game changer and took this large planter from basic to extraordinary! The not-so-fun part was having to cut 32 pieces of pine boards to create the planter of my dreams!
DIY Tip #2 – Create a Stop Block for Repetitive Cuts
I think creating a stop block to simplify this cutting process was smart and efficient! It allowed Bernard to make the repetitive 32 cuts, without having to measure each piece prior to cutting. A quick stop block can be made using a piece of 2×4 wood and some bar clamps as shown below.


Conditioning and Staining Pine Boards
Once all 32 pieces of pine boards were cut, I then had the “pleasure” (not really) of staining them. However, before I could get to the staining part, there was one important step that shouldn’t be missed!
DIY Tip #3 – Apply Pre-Stain Wood Conditioner on Soft Woods
Pine is considered a soft wood and has the tendency to leave a blotchy appearance when stained. Therefore, it’s recommended to apply a pre-stain wood conditioner to seal the wood and create an even wood stain finish.


After I let the pre-stain wood conditioner dry for at least 30 minutes, I was then able to stain all the pine boards using Varathane Early American. It gave the rich, golden brown color I was going for with this planter project. Bernard also painted the planter box itself, using leftover Sherwin Williams Iron Ore.


DIY Tip #4 – Use Paint Codes to Color Match
We use a lot of paint colors from Sherwin Williams, but we do not actually purchase the paint from their stores. We typically find the paint codes online and have the color matched at any home improvement store. However, be aware that the color could vary. So far we’ve been really pleased with the color matching at The Home Depot. In case you’re wondering, the paint code for Sherwin Williams Iron Ore is 7069.
Securing Pine Slats to the Planter Box
It’s pretty clear by now that I’m a very particular person and details matter. That being said, I challenged Bernard to attach these pine slats to the planter box without any visible brad nails or screw holes. He accepted my challenge and delivered because he managed to secure the pine slats by screwing them into the planter, from the inside. Each side on the planter has 8 pine slats with a 3/4 in. spacing between each one and on each side.


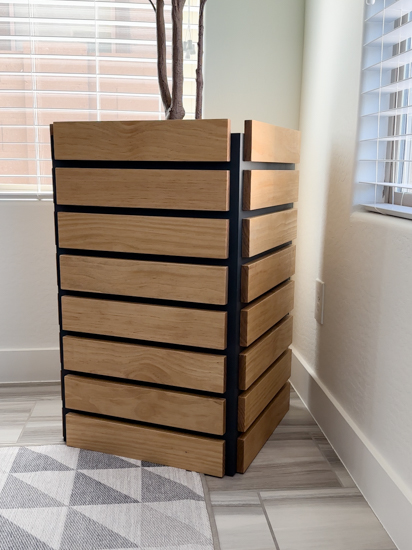
Assembled Large Indoor Planter Build
This large DIY indoor planter was the perfect size to elevate our new faux ficus plant! The Iron Ore color contrasts beautifully with the stained wood details.

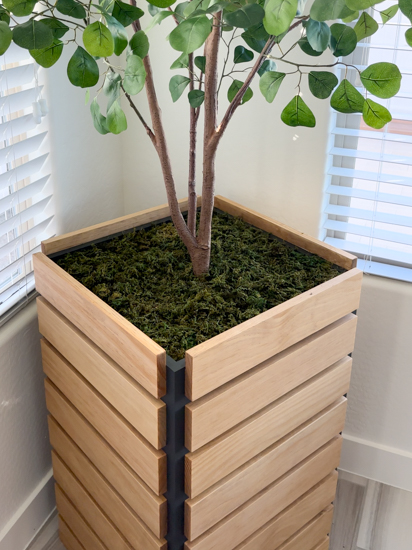
Adding Realism to Our Faux Plant
I used faux moss to add realism to this ficus plant. However, before I could lay it down, I created a base using some cardboard. This hid the original planter and also provided a support structure to contain the faux moss.

Enjoying Our DIY Slat Indoor Planter
I love the boldness of this large planter build and the statement it makes in our dining room! I couldn’t love this project any more than I already do and I have all the confidence that you could now build this large indoor planter yourself!
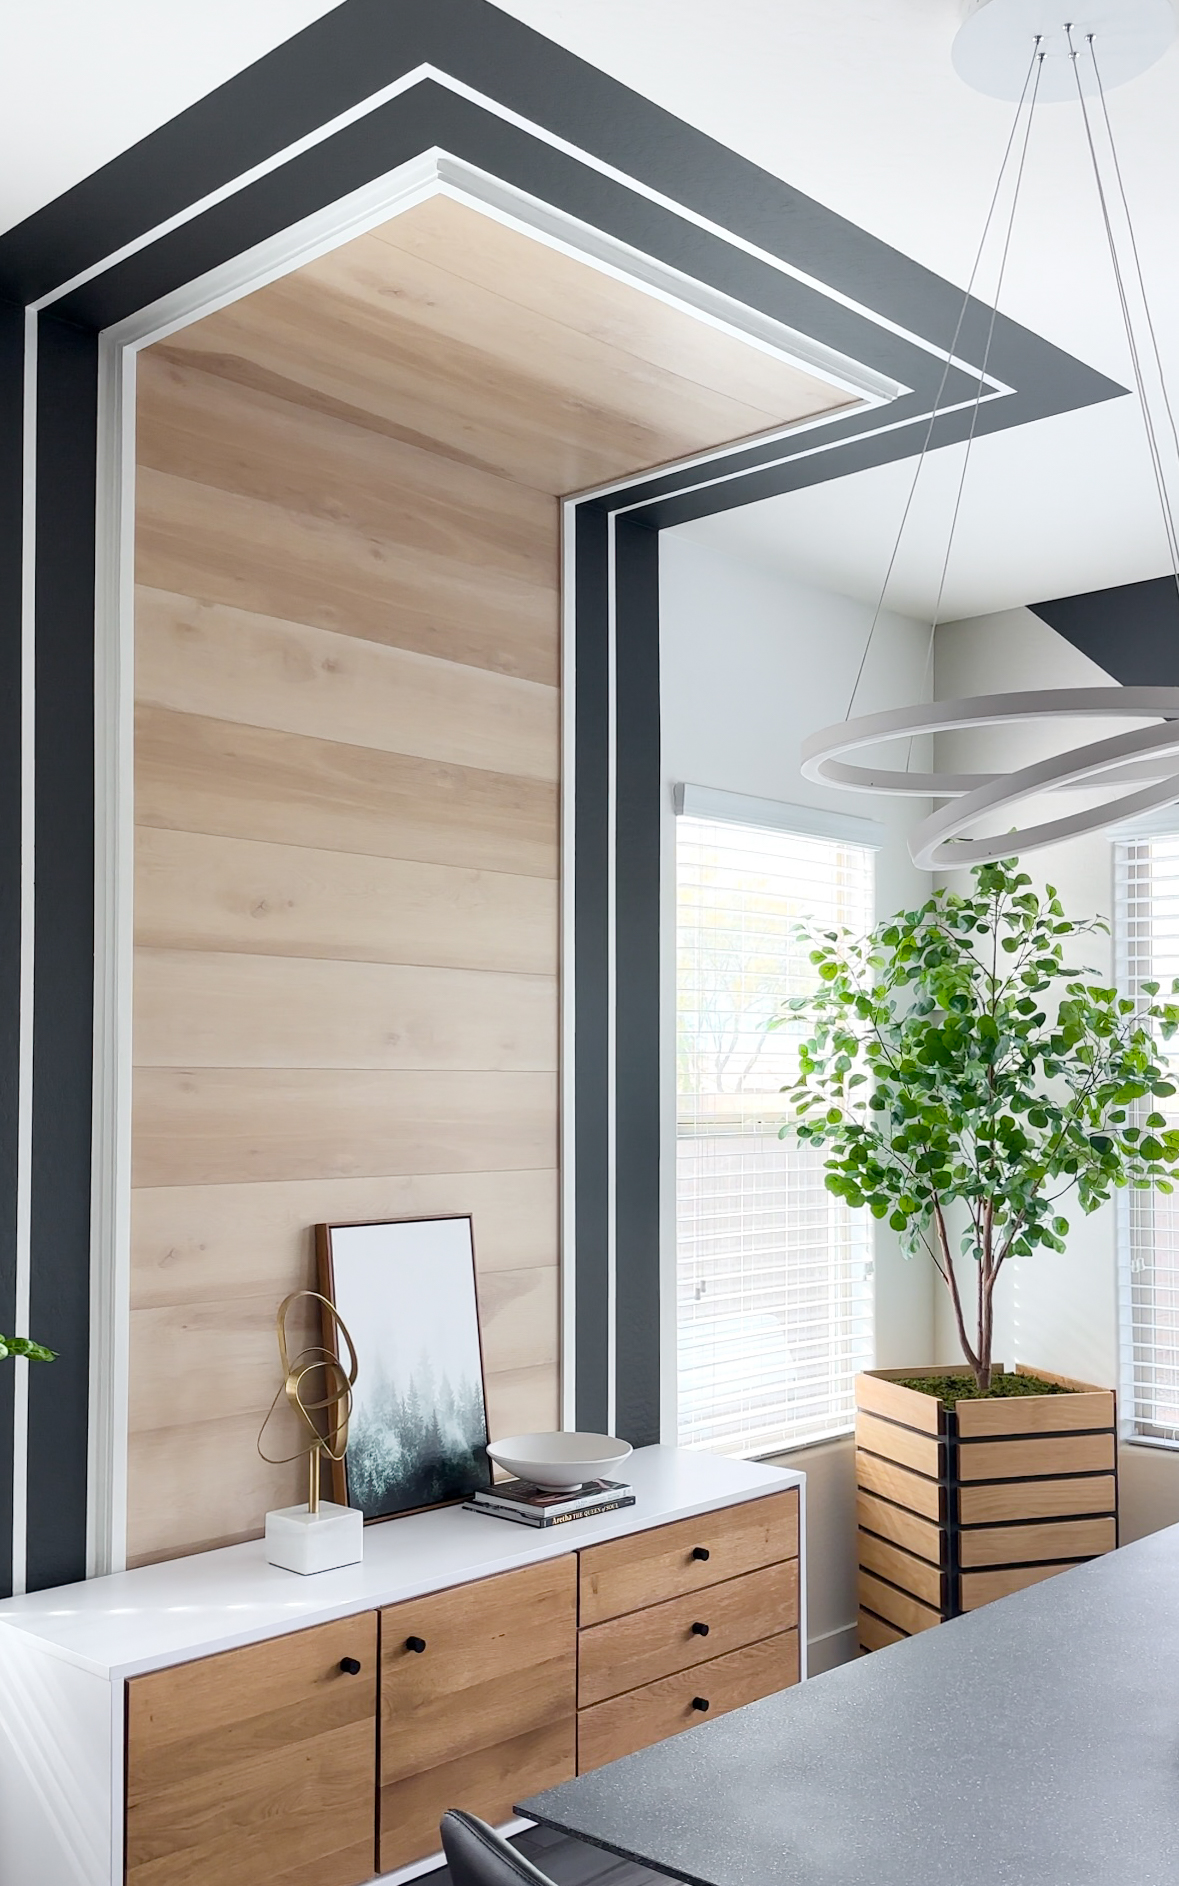

If you’re a fan of our Dining Room Accent Wall, then you can find all the project details HERE! If you’re looking for a smaller modern planter to build, then be sure to check out our Black Vertical Slat Planter. I hope you’re enjoying our home progression as much as we are! Until next time friends
Aminah Chung
What a beauty! Thanks for sharing these instructions, measurements and great progress photos.
Thank you Ruthe!
I love this!!! it is so pretty and less rustic looking than the ones I’ve found so far..I personally HATE the rustic yee haw look..and this is perfect and exactly what i’m looking for…so chic!!!
We do lean towards modern so you’re in the right place!