
I’m back with a simple but cool DIY slat wall project! After our recent completion of the One Room Challenge, I was all blogged out. We took some time to really enjoy our freshly updated master bedroom and take in all the hard work that was put into our new space! If you have no idea what I’m talking about then check out our Master Bedroom Reveal blog post!
This post contains affiliate links, meaning at no additional cost to you, I will earn a small commission if you make a purchase using any of included links. As always, your support is greatly appreciated!

DIY Slat Wall Design
Looking for a quick weekend project? Then this DIY slat wall is just what you need! I love instant gratification, so any project that can be completed in a couple of days is alright by me! We tackled this project a few weeks back, in the midst of the One Room Challenge because it gave us a quick sense of accomplishment. This wall is actually part of a spare bedroom update we’ve been working on for some time. It’s important to have a visual of the project you’re attempting so Hubby created our desired layout using Adobe Photoshop.
We were able to select the perfect wood width and spacing ratio. I’ve set this crazy goal to NEVER recreate the exact wall twice in our home. Now it’s always a fun challenge to find new ideas that are still consistent with the clean lines you all have come to know and expect from us! This DIY slat wall totally fits our style and it’s so darn simple!
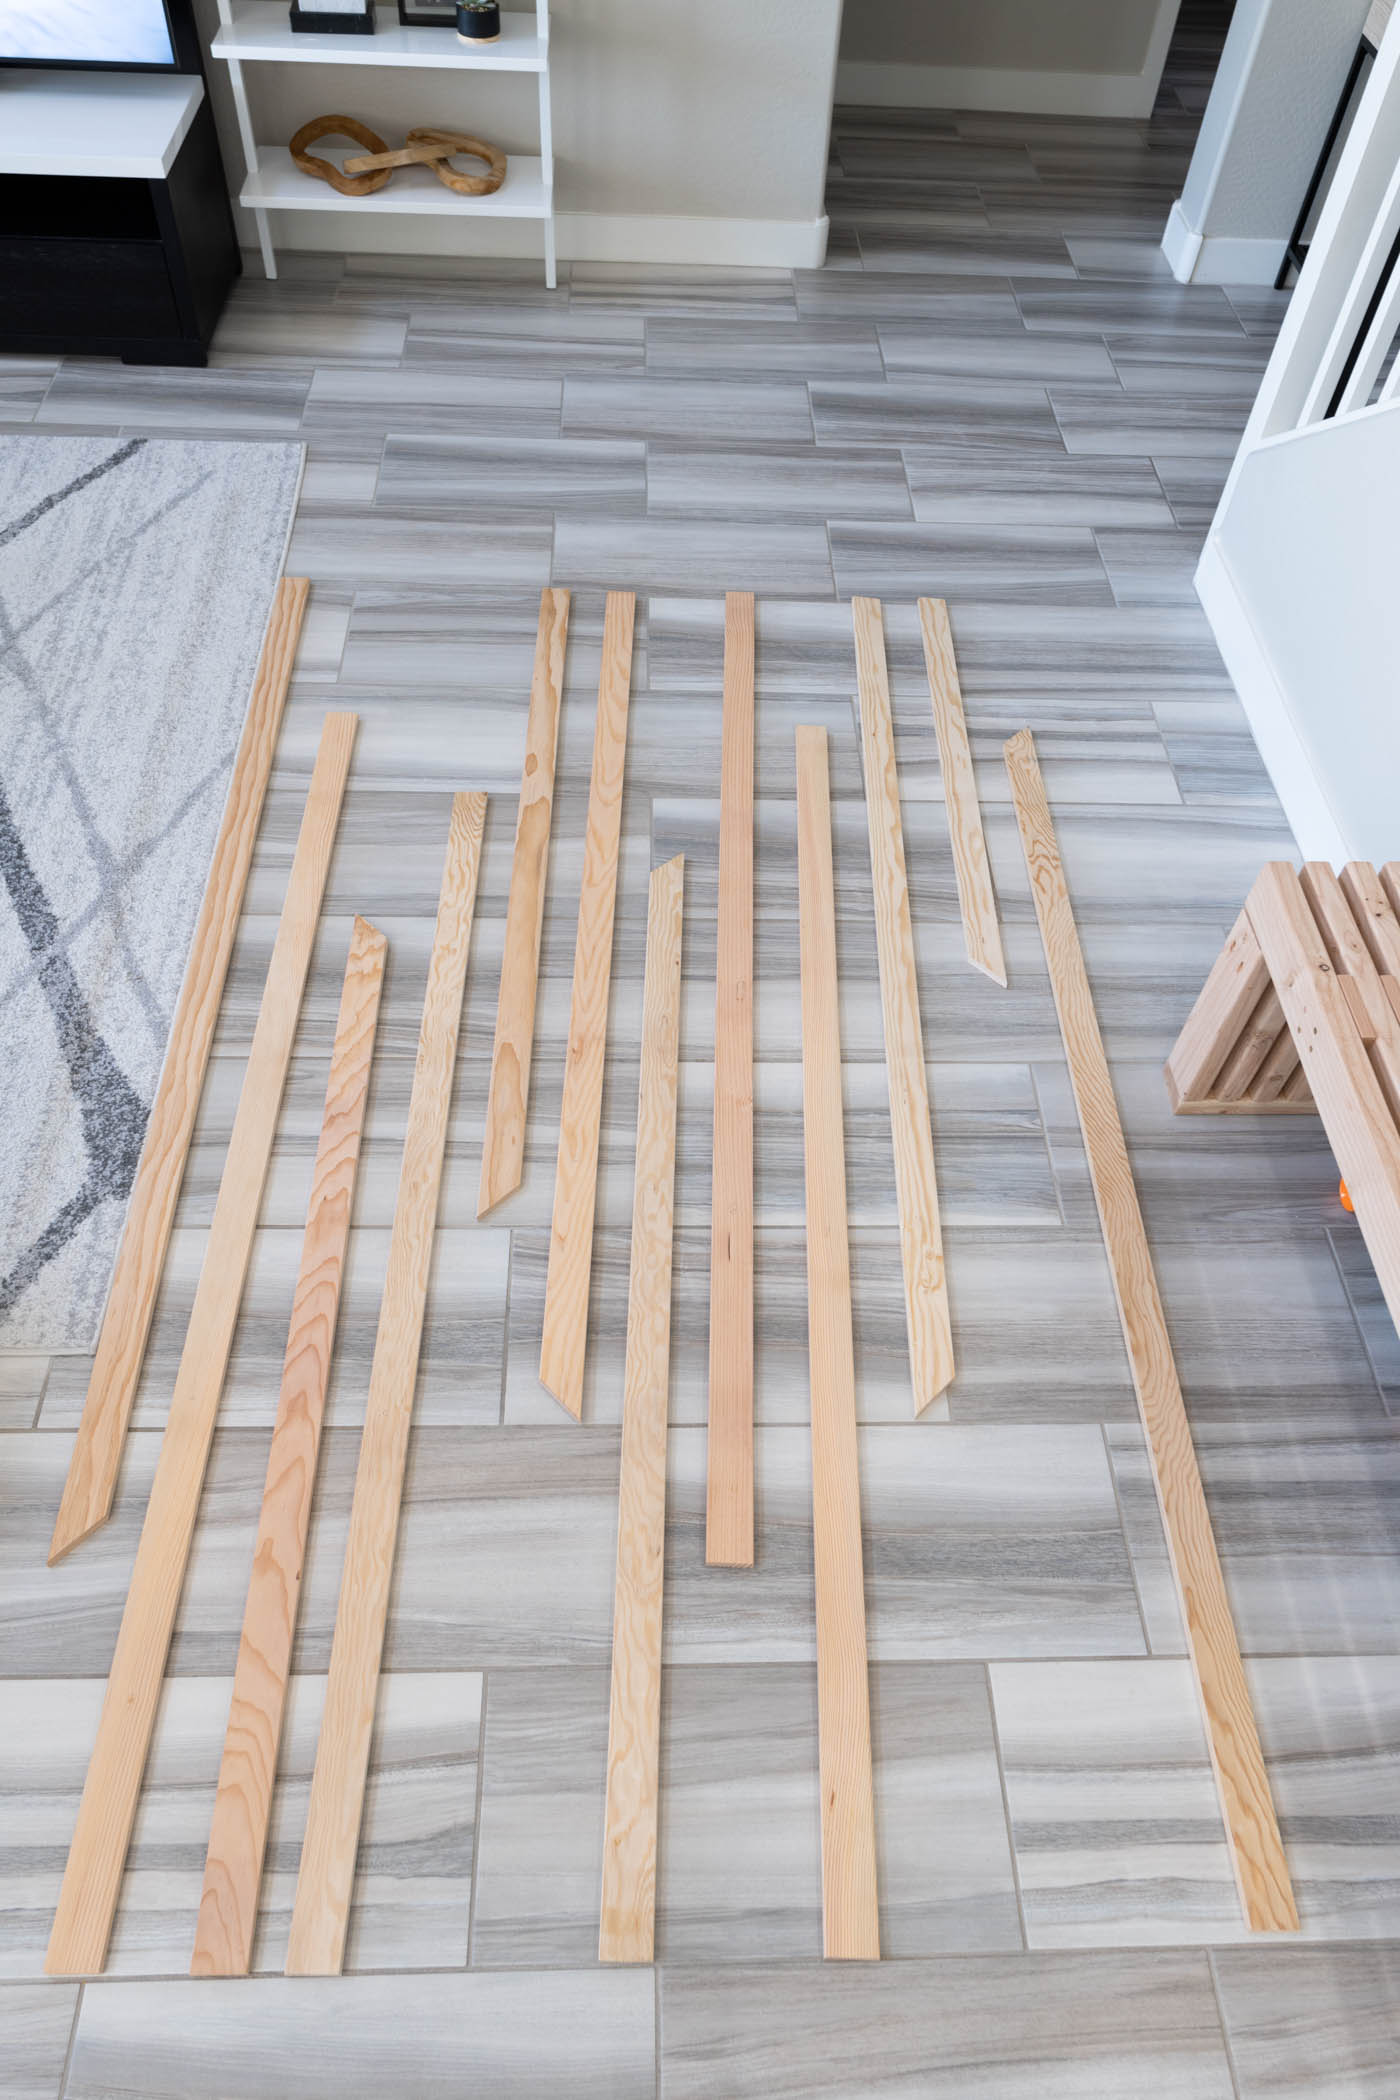
The Preparation
We chose 3″ Douglas Fir wood for this accent wall but honestly, these MDF boards are a much better option! Be advised the actual width of these wood boards are 2-1/2 in. According to our calculations, we needed 12 wood boards, each 2-1/2″ wide and spaced 3″ apart. These measurements would completely fill the wall space we’d dedicated to this project. Some of the wood boards are cut at a 45° angle but you can get as CREATIVE as you want with the cuts! Have some fun and truly make this design your own!

Painting and Slat Wall Install
If you’ve been following our Instagram journey for a while now or have read some of our previous blog posts, then you already know what paint color this is! YES, Sherwin Williams Iron Ore … AGAIN! It’s my equivalent to the perfect white paint! Once you find it and you love it, it’s so hard to use any other color! We decided to paint the wall first, then install the wood boards using a polyurethane adhesive and our trusty nail gun.


DIY Slat Wall Reveal
After taping the necessary areas to protect the rest of the wall and ceiling, Hubby used a paintbrush and painted each wood board. Living in Arizona, most homes have textured walls which I’m not a big fan of. However, this DIY slat wall project is the FIRST accent wall completed, where the textured wall added another design layer to the finished look. There’s almost a leather-like quality to the wall which I’m LOVING so much!


Project Recommendations

If you’re attempting this project, you may want to consider painting the wall first, then painting the individual wood boards, all prior to the actual installation. Another option would be to install the wood boards first, then paint the wall and wood boards all at the same time. Choose the solution and order that works best for you. When painting, I highly recommend using a mini roller frame with mini rollers for a much cleaner finish. It’s also important to note that since we used the same color throughout this project, particularly a dark color at that, we did not see the need to fill the nail holes or caulk the sides of the wood boards.
Please consider these additional steps based on the paint job you have planned for your DIY slat wall. Lighter paint colors may not be as forgiving as my SW Iron Ore! There you have it, friends! Such a SIMPLE and AFFORDABLE DIY slat wall. Did I mention this project was completed for under $75?! It’s also very possible to make this a 1-day project but with our 2 demanding girls, both weekend days were absolutely necessary!
You all loved this accent wall so much that it is currently our most LIKED photo on Instagram! Even more than our master bedroom makeover! It was, therefore, only fair that I share the details of this well-loved DIY project! Would you tackle a slat wall like this? Be sure to let me know if you ever do! What are some of your favorite accent walls? I’m quite partial to color blocks, shiplap, and other wood paneling! Until next time my friends!
Aminah Chung
What length were your boards?
We used various lengths so you can customize it however you like.
What paint color is that?
It’s SW Iron Ore