
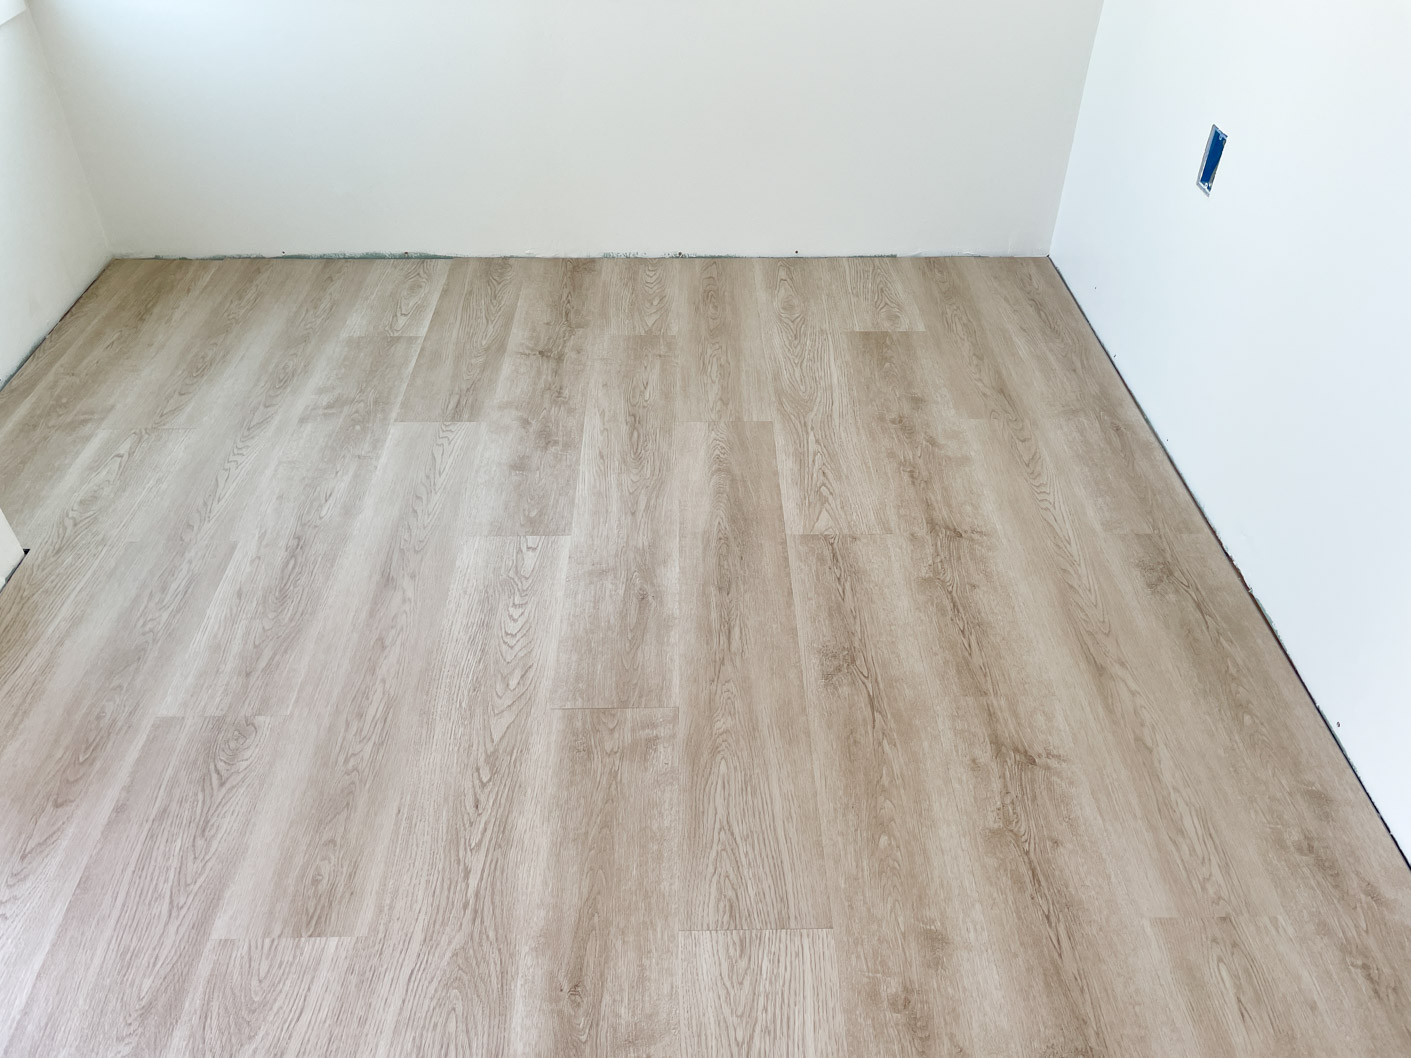
Floor installation can be an intimidating DIY project, but we never knew installing vinyl planks would be so easy! We tackled this project as part of our DIY Playhouse Build we did for our girls. The oak vinyl flooring we selected gave us the rich, textured, wood look we wanted while being affordable and durable. It’s also 100% waterproof and ideal for our outdoor playhouse. Today we’re sharing what we learned while installing our beautiful vinyl plank flooring!
Do You Need Underlayment For Vinyl Plank Flooring?
The need for underlayment will depend on your subflooring, as well as the presence or absence of underlayment on the back of your vinyl planks. The vinyl plank flooring we purchased and installed had a 1 mm underlayment already attached. However, we still chose to install additional underlayment beneath them, because we noticed some gaps in our OSB subflooring. The beauty about vinyl planks is they can be installed over a variety of floor types due to their floating/interlocking installation method. What we loved most about the underlayment we purchased was the built-in moisture barrier. Did you know that additional underlayment can also help with thermal insulation and sound reduction?


What Tools Were Most Helpful During Installation?
We highly recommend purchasing a floor installation kit to help with your flooring installation! The one we purchased included spacers, a mallet, a pull bar, and a tapping block. All of which serve their own purpose during the install process. Some additional tools needed include a tape measure, a utility knife with replacement blades, and a straight edge. A 1/4″ space is recommended between the vinyl plank flooring and your walls to accommodate for any future expansion. Don’t worry, your baseboard will cover that gap and create a clean look. It’s also recommended that you stagger the planks and the seams are at least 6″ – 8″ apart for overall structural strength.


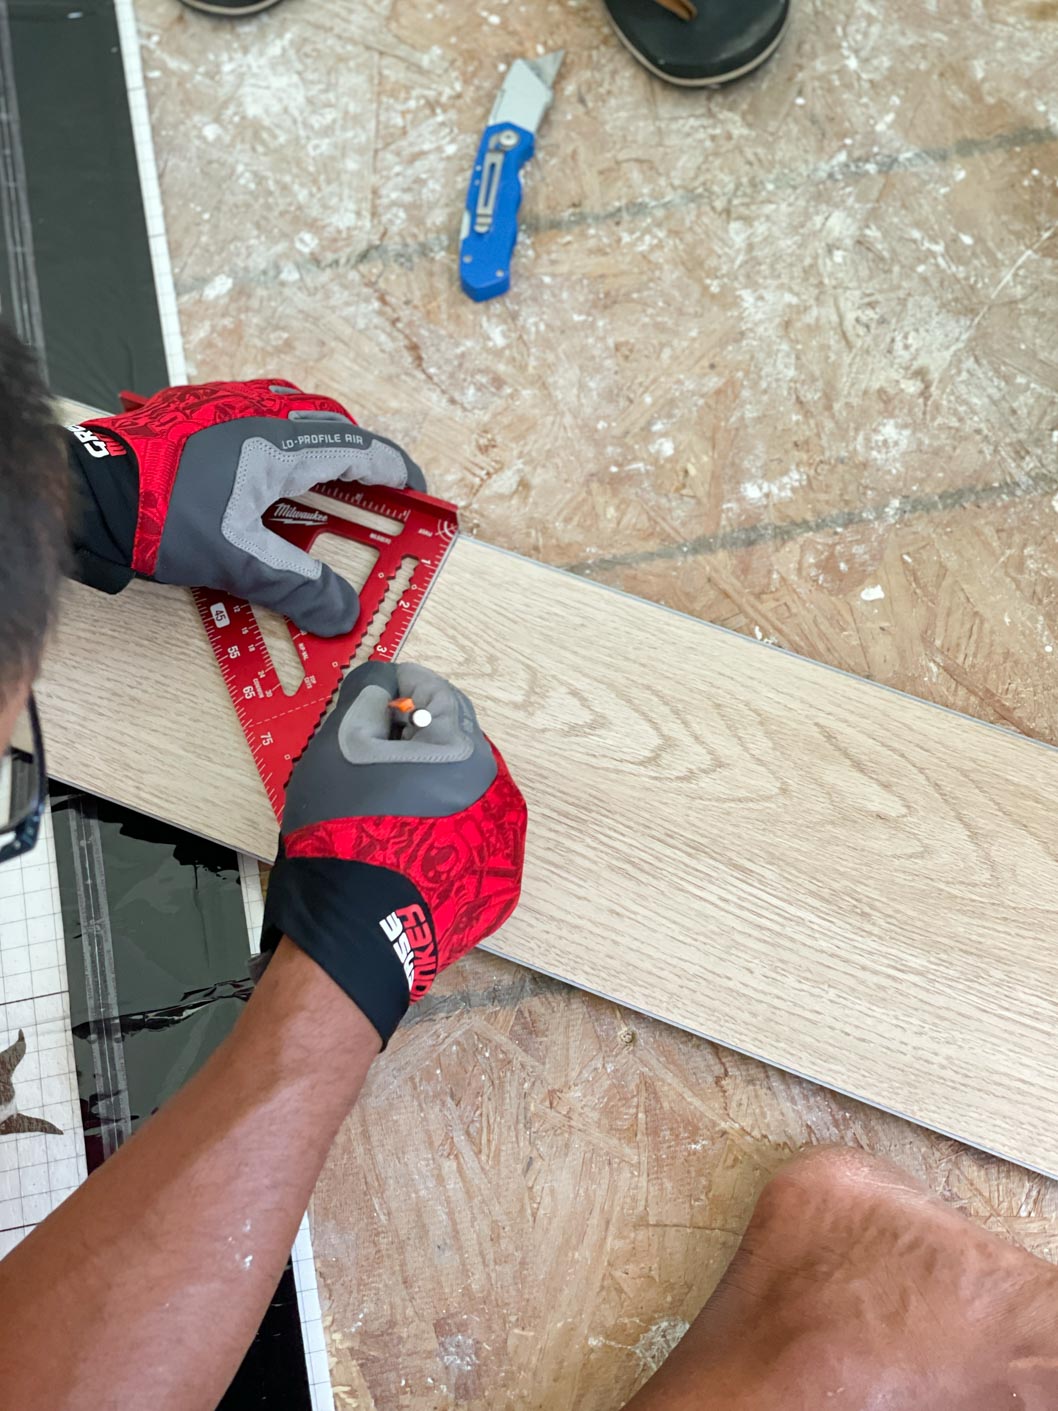
Was It Hard To Cut The Vinyl Plank Flooring?
The vinyl plank flooring we purchased was so easy to work with and that included cutting them. We first determined exactly where we needed to cut on the plank. Then we drew a line using a pencil and a straight edge. We then used a utility knife to score the vinyl plank several times. Then it just snapped off in a clean, straight line. Use the excess vinyl plank you cut off to begin the next row. It’s an easy way to create that staggered plank flooring layout.

Any Additional Tips You Learned During This Process?
A simple way to determine how much flooring you’ll need for your project is by using a flooring calculator. This removes the guesswork and also considers the additional recommended flooring to have as a cushion during the installation process. I also opened each box of flooring and shuffled the planks so that each pattern and color were evenly distributed throughout the floor. Instead of scoring the plank on the top side, it would be easier to score on the underlayment side and then just snap off the extra piece.


Going into this DIY project, we had no idea how easy floor installation would be! I’m so happy we took the chance and tackled this project on our own! Not only are we super proud of the awesome job we did, but we’re also here to let you know that YOU can do this too! Time, patience and, a willingness to learn will help get you there. Until next time friends!
Aminah Chung
This definitely looks great and you guys make it look so much easier, great job you you both.
It helps when you have a partner!
Sounds like a mini-me house is a great way to try out new techniques! Maybe a tiled shower next?😀
That’s a great way to look at it!
I love the flooring and the color you went with.
Thanks Talitha! We’re so happy with our choice!
It turned out super good! Saving this for later.
Thank you so much! A very doable project!
Your floor looks great (and your site is spectacular). Did you use SPC or WPC vinyl plank? Thickness?
Hi Mark and thank you! This is SPC flooring.