
The love and pride I feel for my FIRST DIY bench are immense! I’ve been more than happy to create the designs for our DIY projects. Now, I understand the satisfaction you feel when you use your own hands to bring a design to life! What a labor of love this has been! Interested in tackling this project yourself? We’ve created an 8-page detailed build plan that includes all the tools and materials used to create this DIY bench! You can now purchase a copy of this 16-page build plan and others right HERE.
This post contains affiliate links, meaning at no additional cost to you, I will earn a small commission if you make a purchase using any of the included links. As always, your support is greatly appreciated!


My favorite part of this DIY bench project was the fact that it was a zero-dollar update! The materials I used were all leftovers from previous projects. You can build this bench to any size using my build plan as a guide.
Bench Build


Stain and Paint
I’ve said this before and I’ll say it again, I’m OBSESSED with Sherwin Williams Iron Ore! When it comes to dark paint colors, this one is a winner in my book. It’s not black and it’s not gray, but rather a hybrid of the two with just the right amount of warmth! For the stain, I used my personal concoction of Natural and Early American. It’s definitely a trial-and-error sort of mix. I simply tested the stain on a piece of pine board until I was satisfied with the resulting color.


If you’d like to see how else I’ve used this paint and stain combo, then be sure to check out our Stairs Nook Shiplap and our West Elm Inspired Shelves!
Style
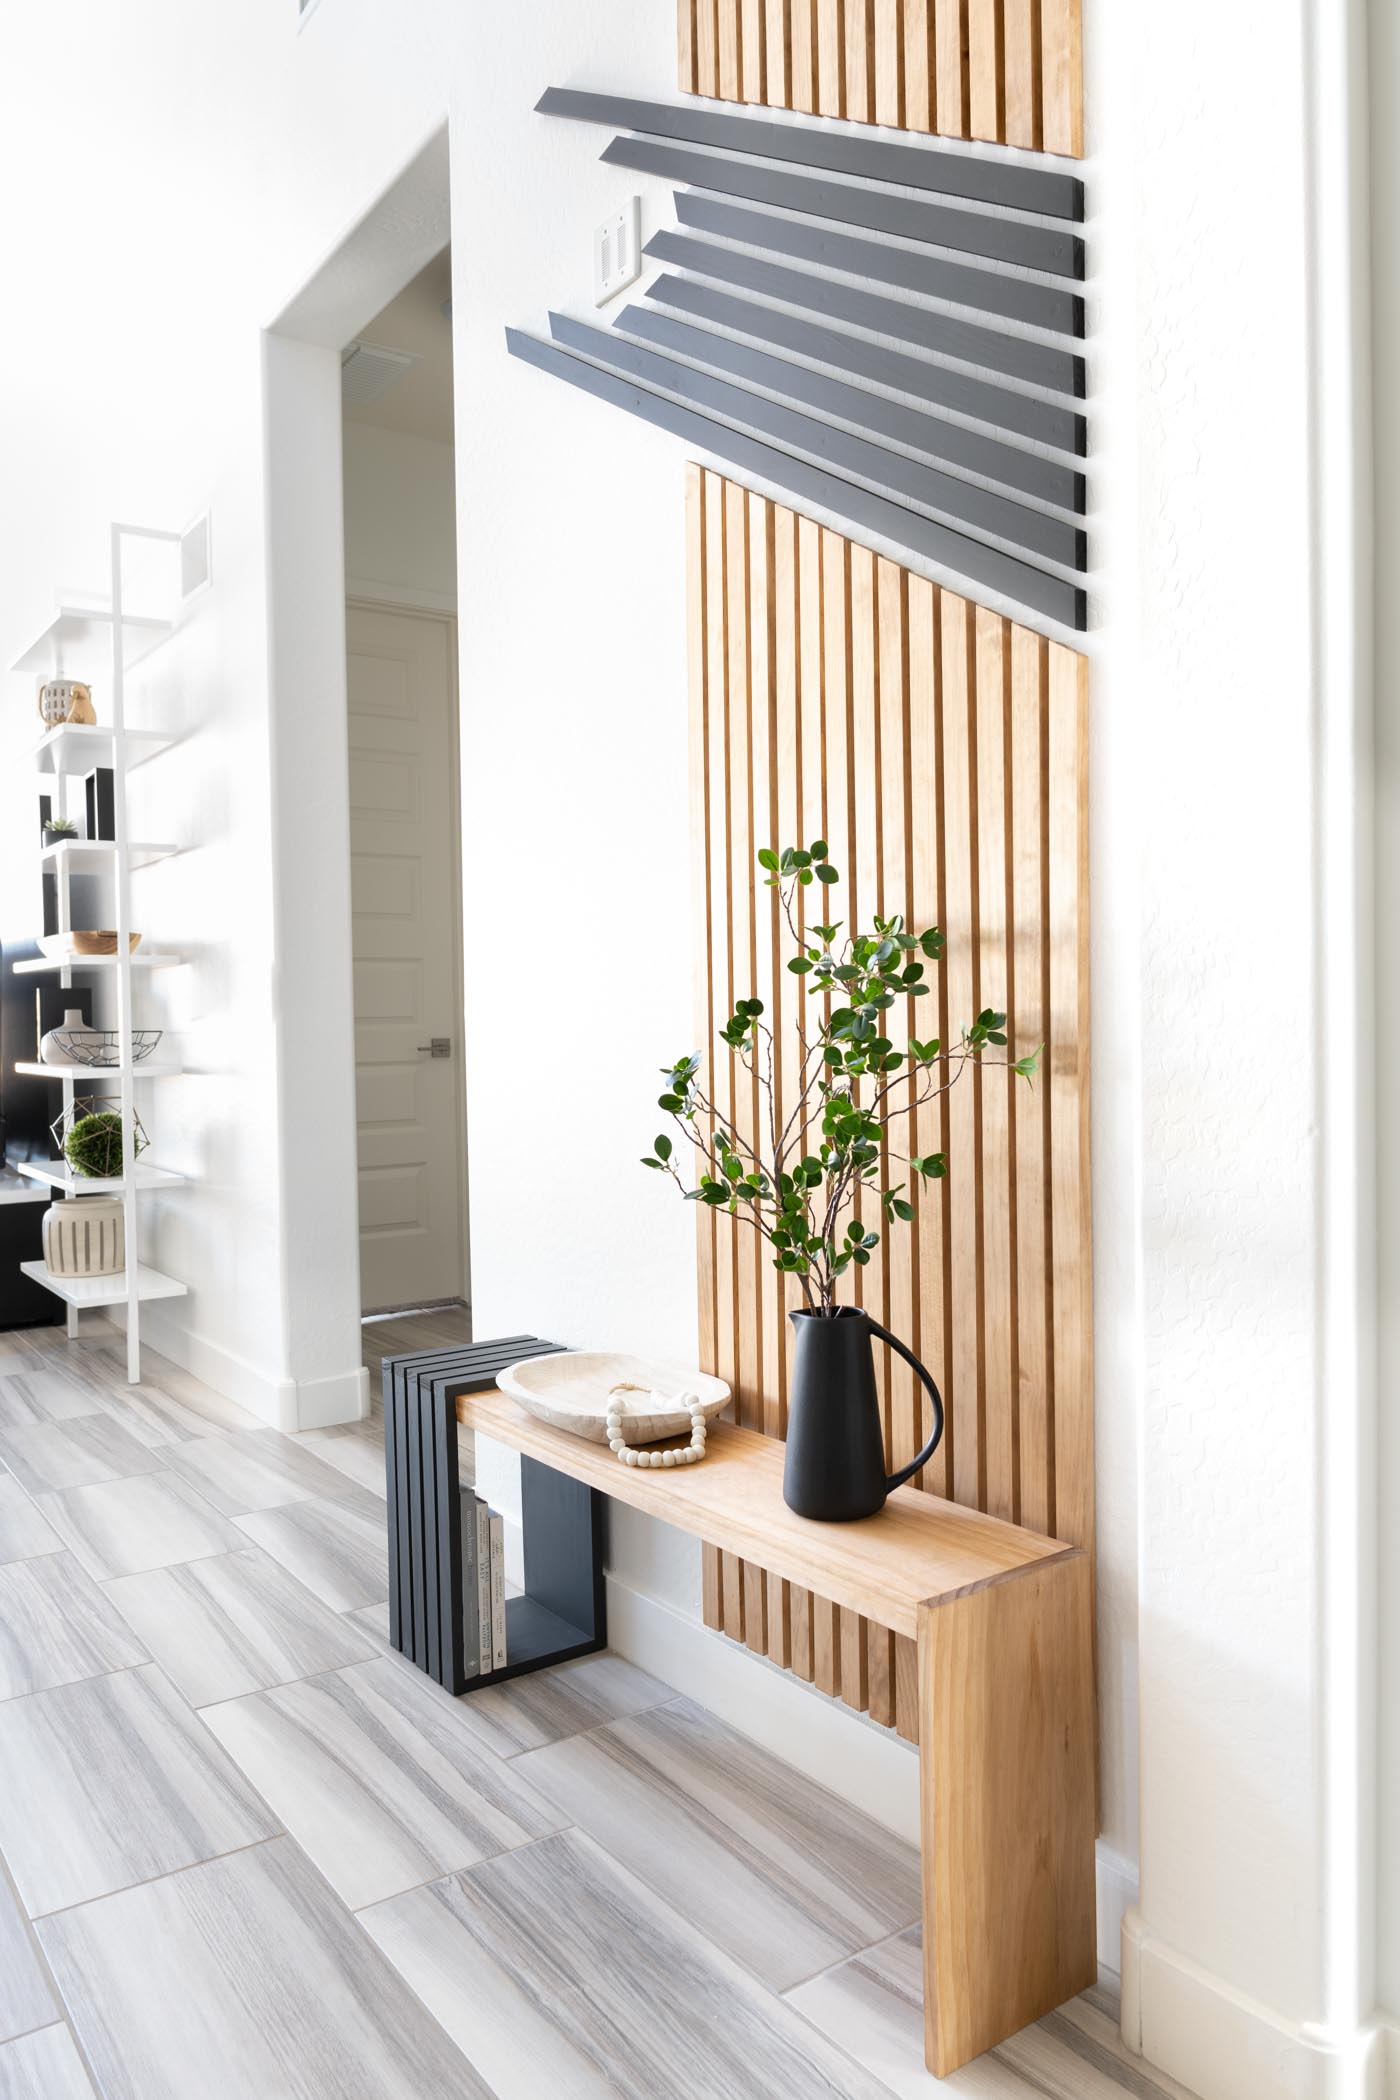
There are so many great details on this DIY bench that I typically keep the styling to a minimum. I want the attention to remain on the bench as much as possible. I think it pairs perfectly with our DIY slat wall! The blog post for this accent wall is coming soon!


Recommendations
- Feel free to use your choice of wood on this DIY bench build. I tend to have my favorite wood choices and I’m sure you do too!
- I used a countersink drill bit because it allowed me to drive the screws further in so I could then easily fill any holes with spackling paste, lightly sand, and paint.
- The 90-degree corner clamp allowed me to hold the bench leg and bench seat together so I could screw them in place. The quick grip clamps are great for solo DIY projects because they provide that extra set of hands you often need!
I’m still beaming with love and pride over my DIY bench! I’m so grateful for the overwhelming love and support I received on this bench! While this was my very first DIY project, it likely won’t be my last. I hope you decide to tackle this bench design and if you do, be sure to tag us on Instagram! The best compliment you can give us is to recreate one of our projects!
You can now purchase a copy of our 16-page DIY bench build plan right HERE! Until next time friends!
Aminah Chung
I love your bench! I think it’s beautiful, stylish, and modern. I was wondering if you can slow down the “how-to” video, I am kind of lost how you added the slats to the bench. I really appreciate it. Thank you so much!
Hi Laura, we actually sell the build plan for this project if you’re interested.