
If you’re looking for a great beginner DIY project, then I highly suggest installing this easy DIY slat accent wall. Not only will it add visual interest and dimension to a space, but it will also give you the confidence boost you need to try others. I’m sharing the materials and tools used to complete this easy DIY accent wall project, as well as tips to help you along the way!

This post contains affiliate links and we will earn a small commission, at no additional cost to you, if you make a purchase using any of our links.
Materials and Tools are Linked Below
- Saw (we used a plunge saw + miter saw)
- Impact driver + 1-3/4 in. screws
- Stud finder
- 18 – gauge Brad nailer + 2 in. brad nails
- Paint supplies
- Paint sprayer (optional)
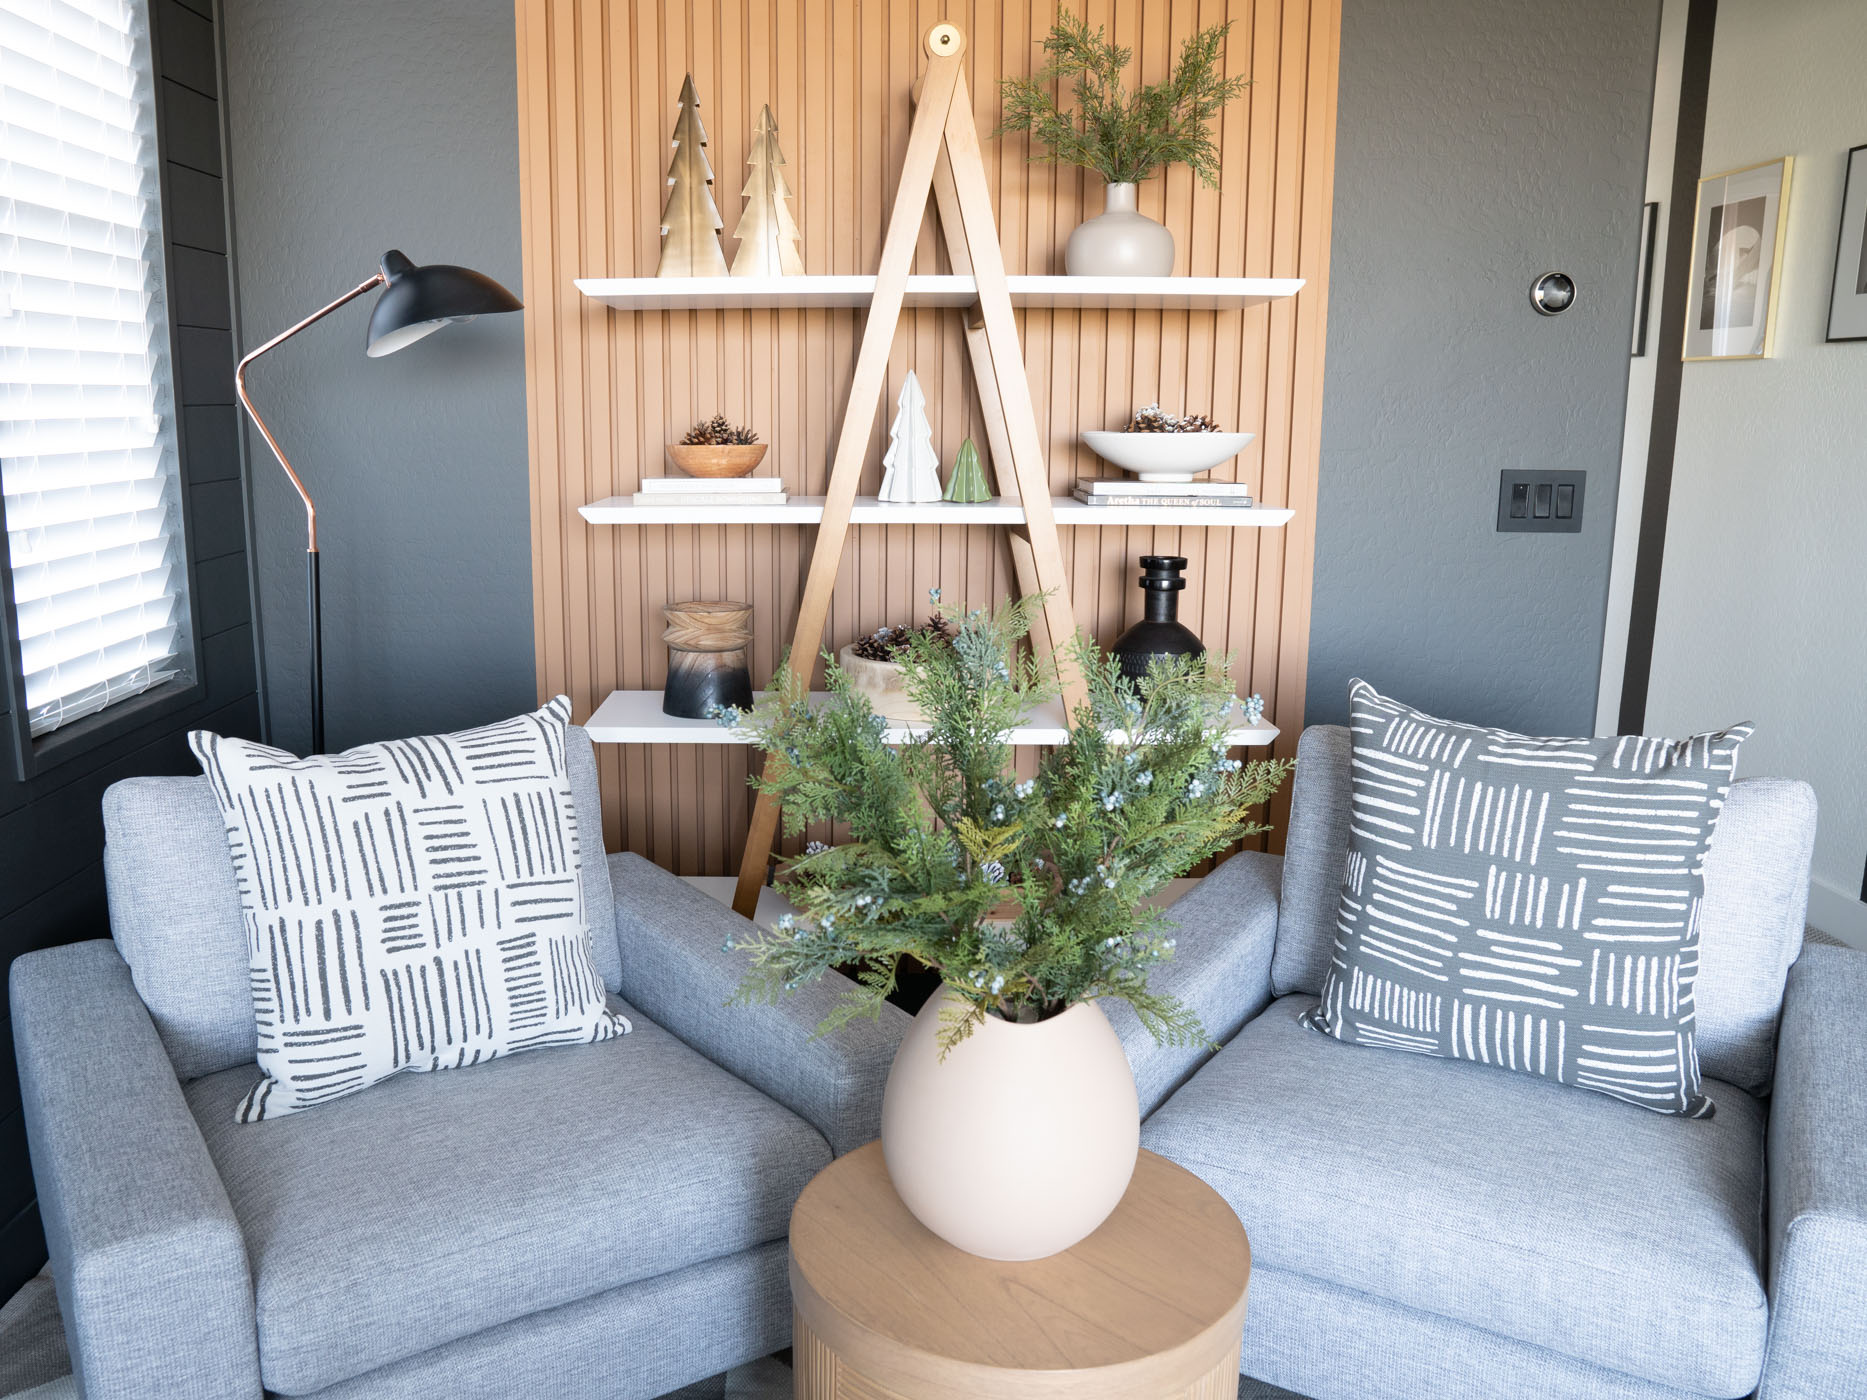
Project Space – The Before
We gave our master bedroom a complete makeover about 2 years ago, which you can read about HERE, and it’s crazy how much our style has changed since then! When it comes to creating a master bedroom retreat, I’ve learned that I much rather have a moodier vibe than a light and bright one. This realization is what has led to me wanting to transform our bedroom sitting area.

What to Use for Slats?
For this DIY slat accent wall project, we used 2-in. primed MDF boards. Can you use real wood? Yes, you can but what we love about the MDF boards is they’re less likely to be warped and create a much tighter seem against walls and backing boards. No caulking was needed in this project which was a very big win and another reason why this is an easy beginner project! If you’re looking for more fun slat wall projects to try, then be sure to check out our:
Guest Bedroom TV Wall || Guest Bedroom Slat Wall || Living Room Slat Wall
Project Tip
For the look I wanted, we found that using Jenga blocks created the perfect spacing!

Where to Start?
Whenever installing vertical boards, Bernard prefers to use a backing. For this particular project, we used 1/4 in. birch plywood. The backing provides a smooth surface to secure the MDF boards and also protects our wall from damage that can happen when using liquid nails.
Project Tip
A stud finder is a necessary tool when it comes to wall projects. We’re linking one of our favorite ones HERE. Use a stud finder to locate and mark the studs in your wall. Then screw the plywood backing into your wall and through the studs.


How to Attach the Slats?
We attached the 2 in. MDF boards to the backing using a combination of liquid nails and brad nails. We mainly used liquid nails, which gets applied to the back of each board. Bernard then followed up with a couple of brad nails to hold the boards in place while the glue sets.
Favorite Filler?
By using the liquid nails, you’ll have much fewer brad nail holes to fill. When it comes to filling MDF boards, Bernard specifically likes to use Dap spackling paste. It’s lightweight and shows very little shrinkage after application.


How to Paint the Slats?
Initially, Bernard started painting the boards using a foam roller which is a great option! However, when you install slats that are spaced about 3/4 in. apart, you have two practical choices! You can INSTALL THE SLATS FIRST and then spray paint them OR you can PAINT THE SLATS FIRST and then install them. I’m linking all of our favorite paint project supplies HERE.
What are the Paint Colors Used?
As I mentioned, I prefer a dark and moody bedroom space. So naturally, we went with Sherwin Williams Iron Ore and contrasted it with Behr Coco Rum. It’s very important to me to maintain a consistent color palette in our home. I think it’s a smart way to create a cohesive look!

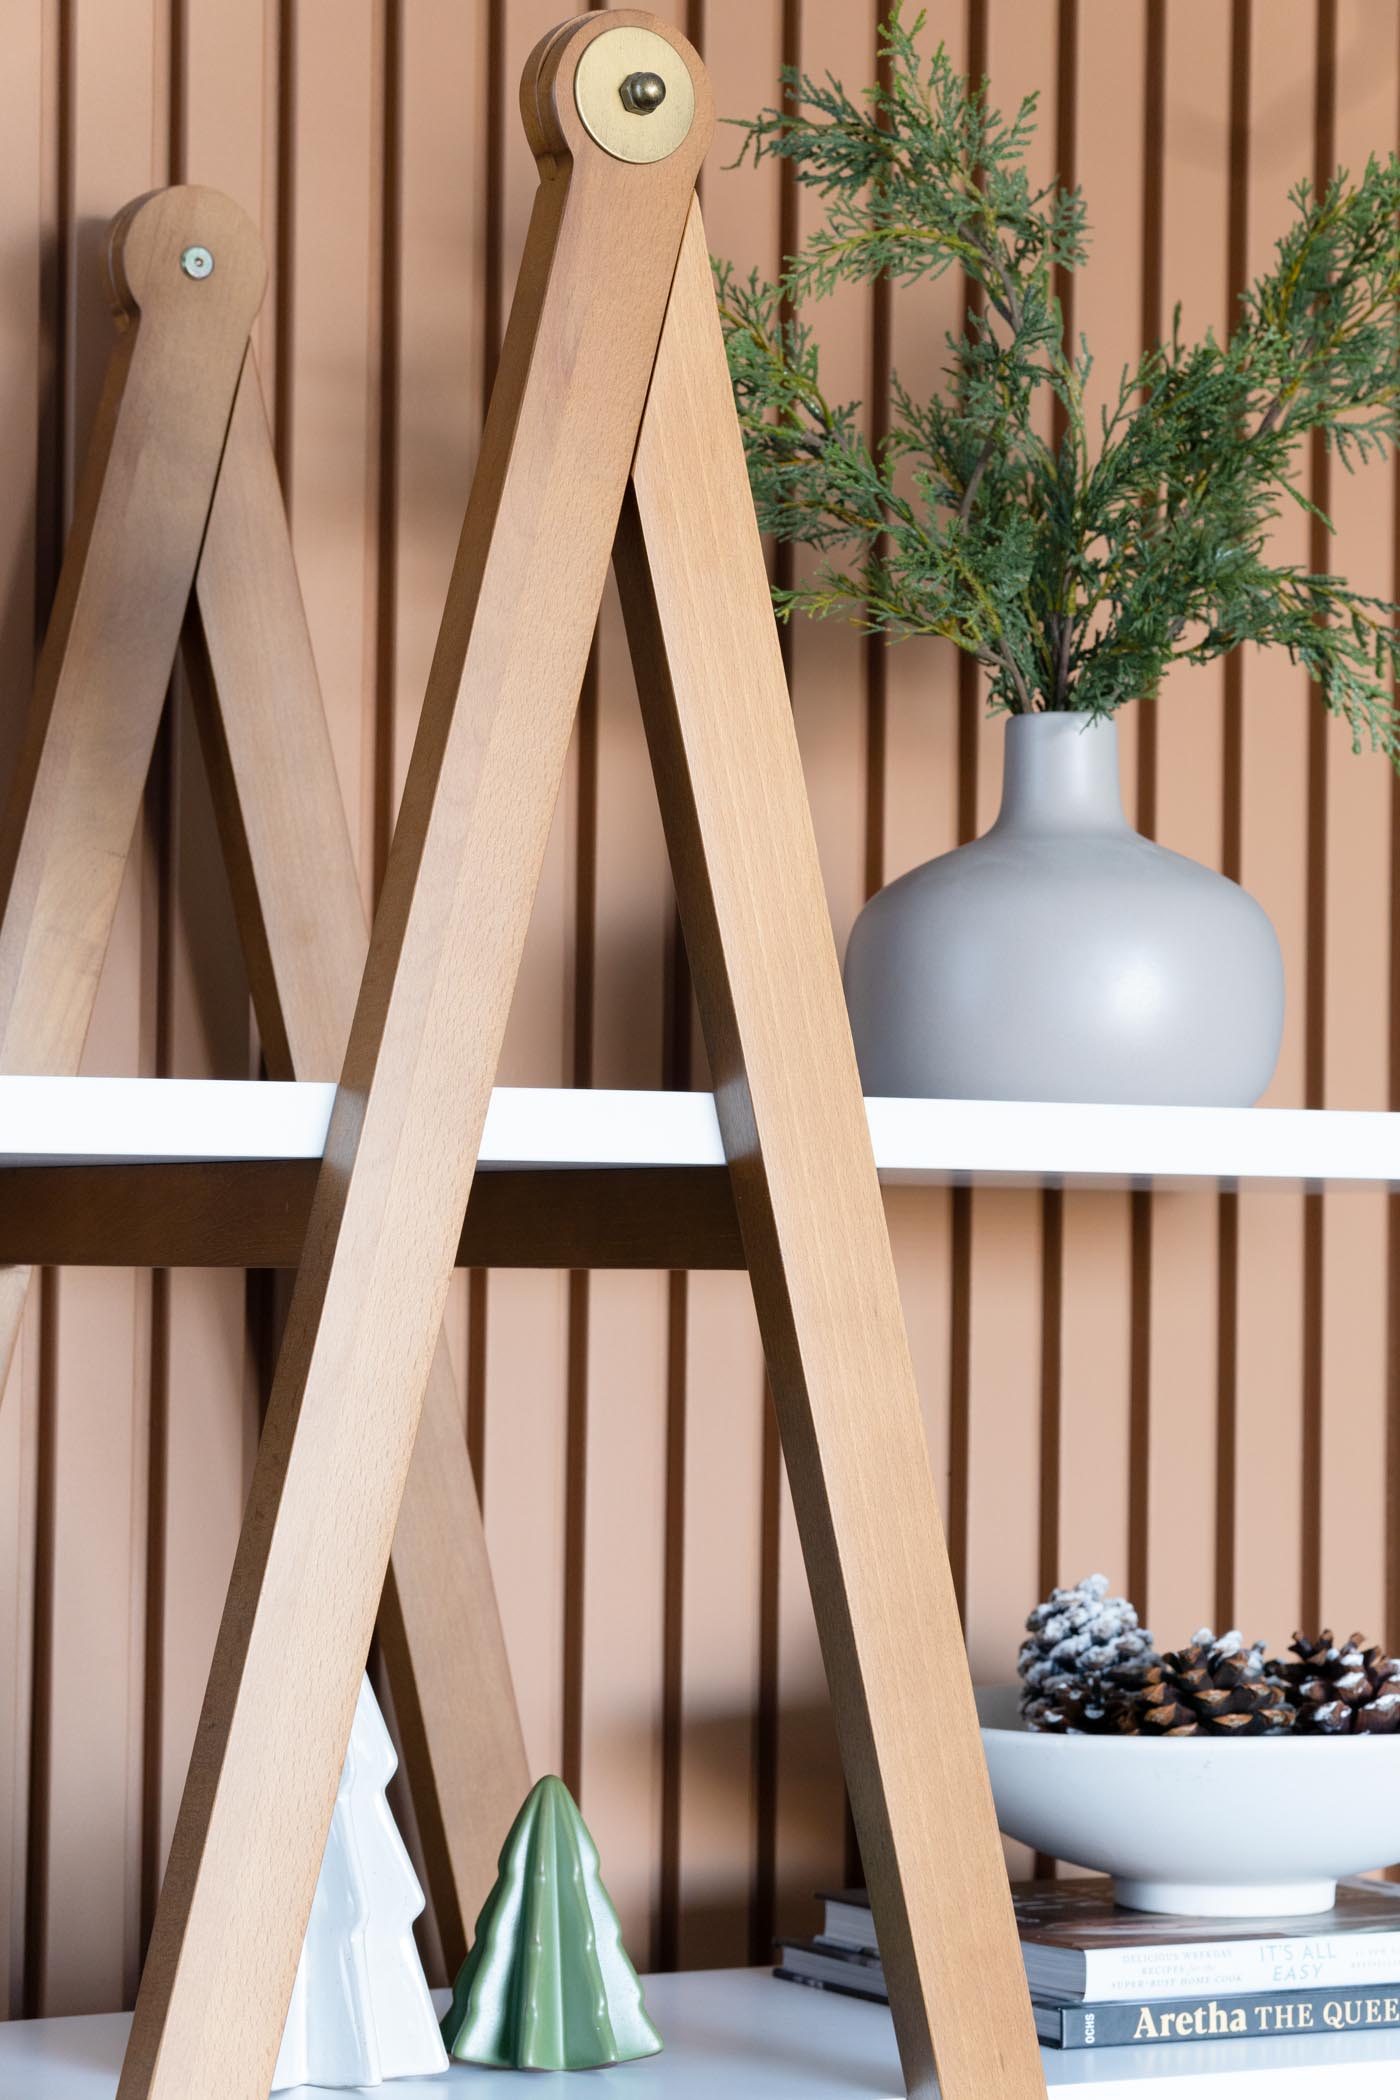
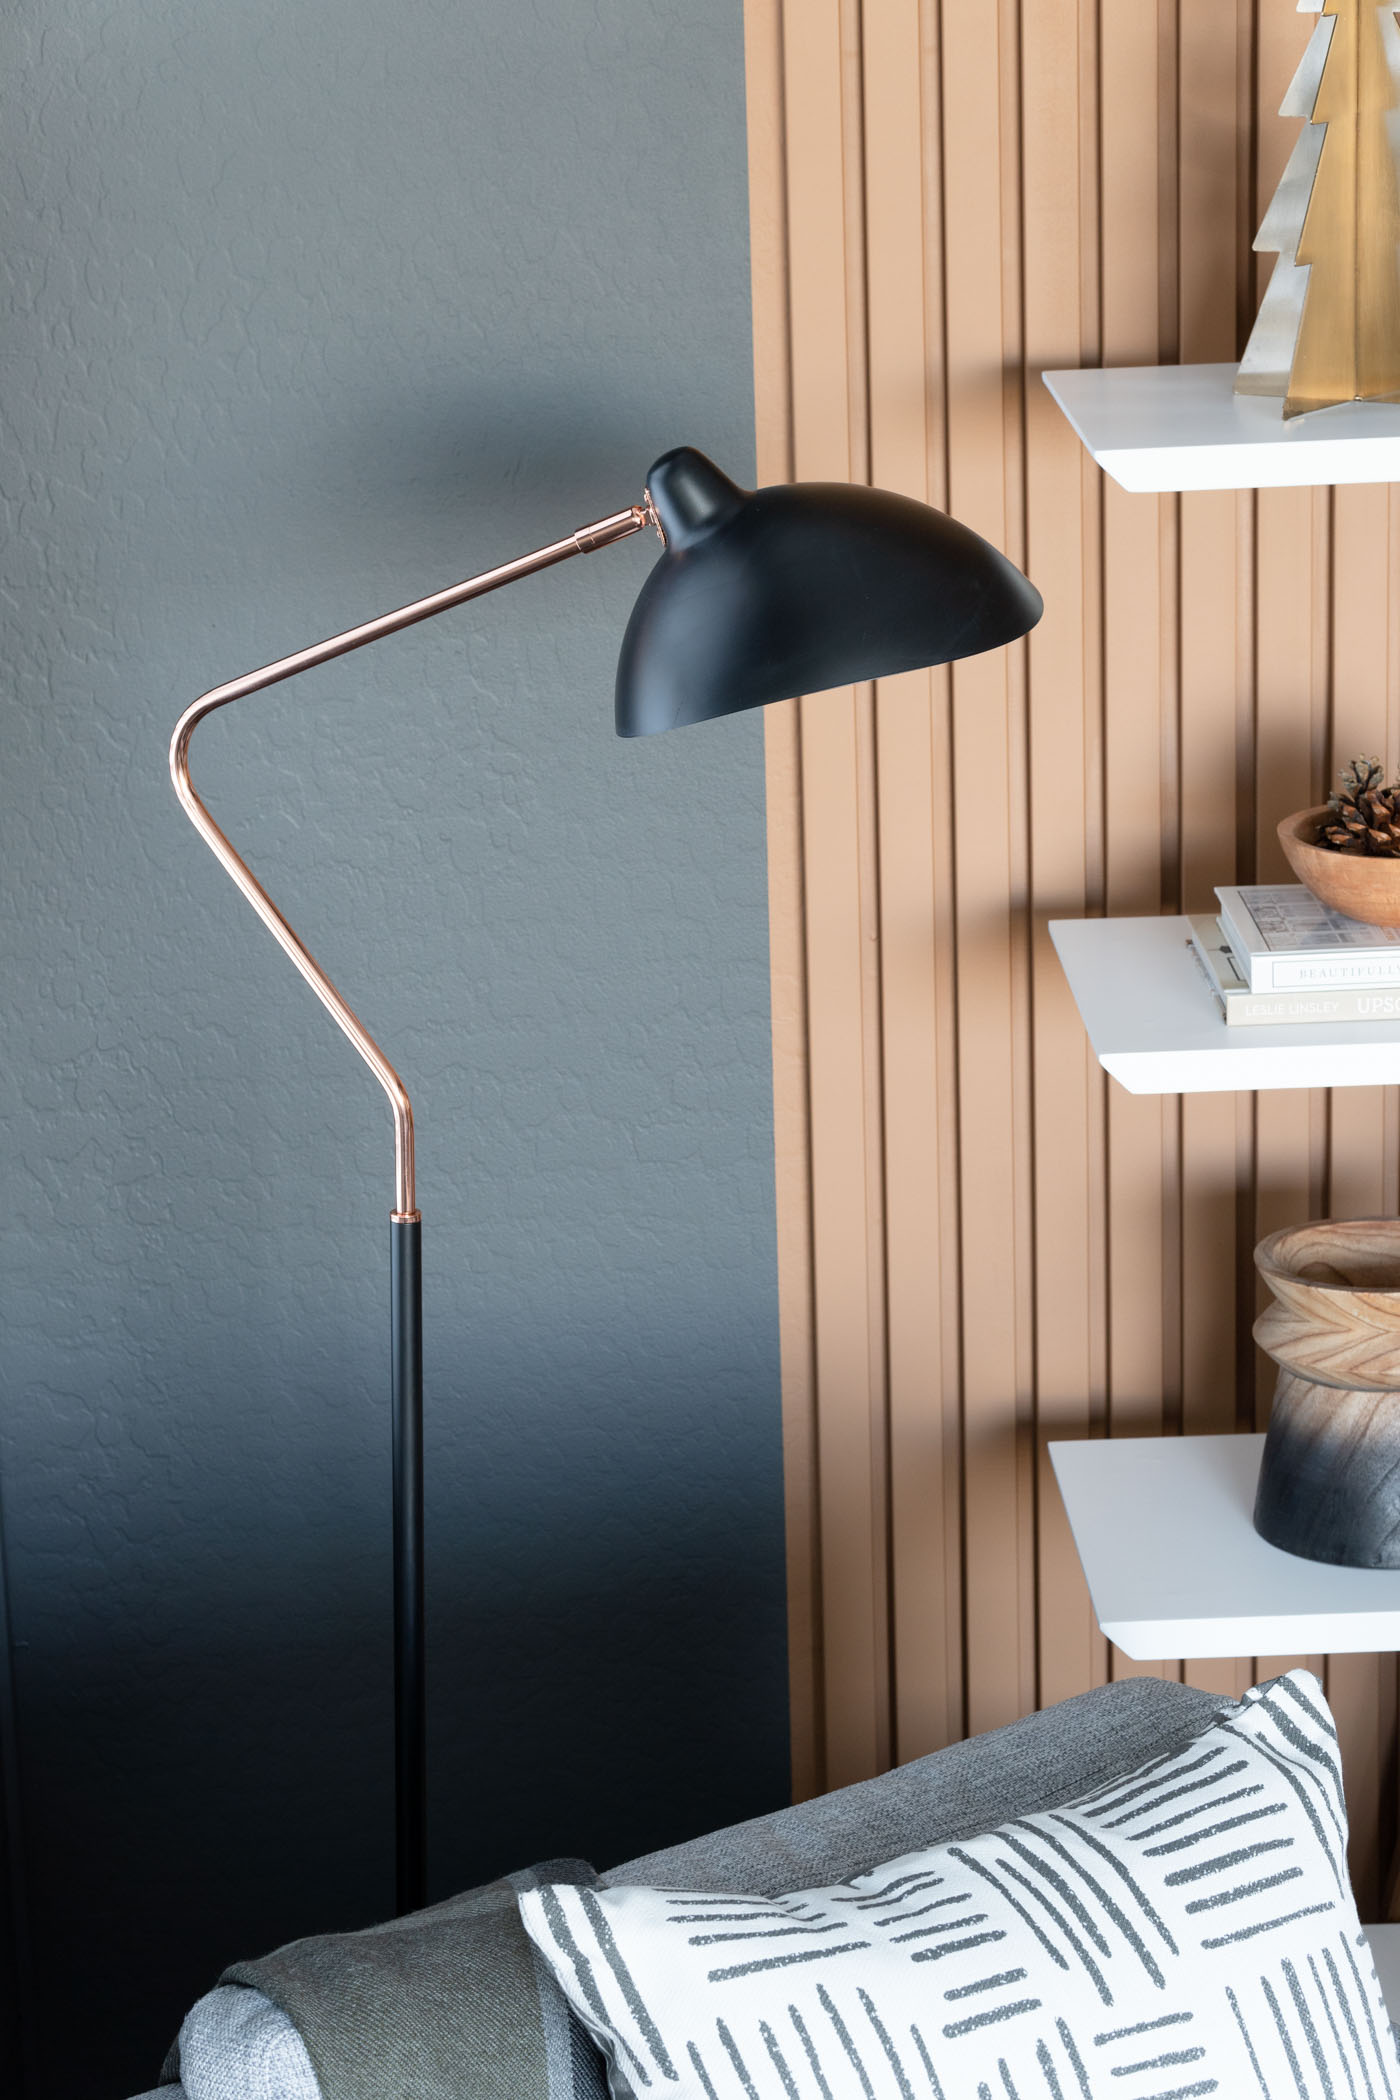
DIY Slat Accent Wall and Styled Sitting Area
Not only did we create this easy slat accent wall, but we also upgraded the furniture and decor! It’s definitely giving a grown folks vibe and I’m loving it! Keep on scrolling to take in all the beautiful details!


Focusing on our bedroom was a great way to end our 2022 Project Year! Thank you guys for being here and supporting our home improvement journey! If you have any questions, just leave us a comment below. Until next time friends!
Aminah Chung
You guys NEVER cease to amaze…it looks absolutely INCREDIBLE dear Aminah!!!🥰🖤🪴🤎🙏🏾👏🏾
You’re too kind, thank you!
I live the recommendation on using the birch backing. Ruining the walls has been my hesitancy on putting up a slat wall.
I’m happy we can share that insight Nanette! Hope you try one soon!
Thanks for the great tutorial and sources! I never thought about using MDF before especially if you planned on painting the slats!
Thanks for reading and I’m happy we could be a resource for you!
Such a cool project! So creative and can’t wait to try it! Also love that particular a-frame shelf, haven’t been able to find any pieces like that
Thank you Regi! This one was purchased from Article.